How to Build a Cheaper DIY Chicken Coop
Chickens are great to have at your home (especially if you like fresh eggs), but finding a place to keep them is not always a walk in the park. Chicken coops on the market can be hard to handle, may cost a lot, and are often too unwieldy to fit in certain spaces. For those reasons, it is much cheaper to make your own DIY chicken coop at home.
Having this kind of project makes you inclined to do more things that matter to chickens. You will start to learn how to select the right feed, build a chicken waterer, and most of all it even gives you the idea of choosing the right breed.

A DIY Chicken Coop for Everyone
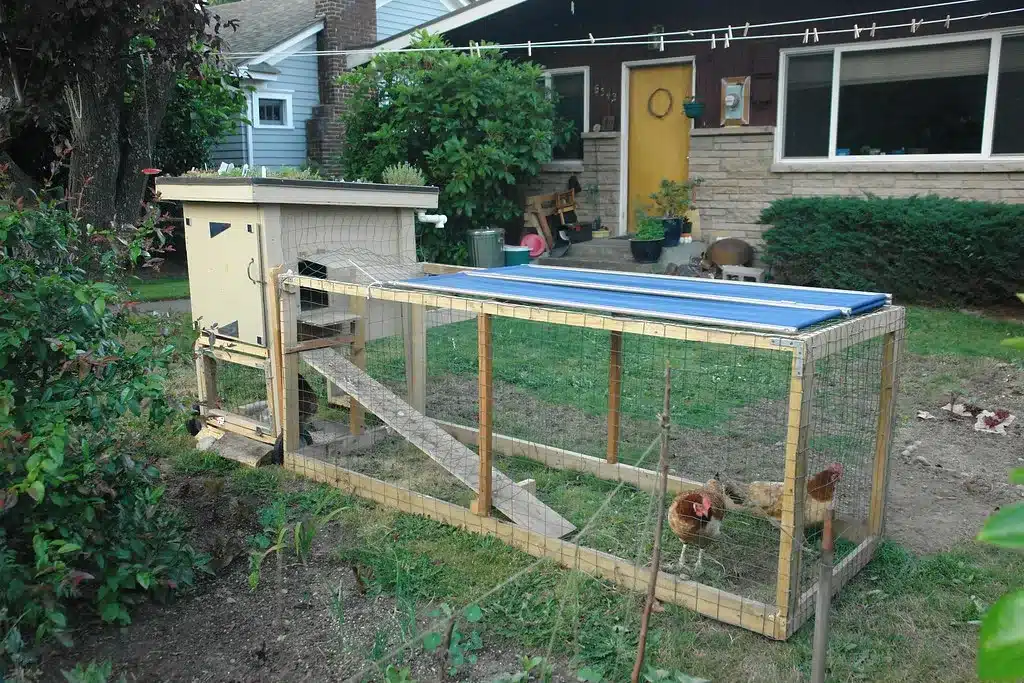
A chicken coop is more than just a place to store your flock. It also protects the chickens from the elements, keeps them warm in the winter, hides them away from predators, and gives them a safe space where they can freely lay their eggs.
Those reasons are why building or owning a solid structure is so important.
However, don’t worry if you feel overwhelmed. You may think creating a strong DIY chicken coop is too difficult, but it’s much easier than it first seems, especially with Easy Coops.
Like any at-home project, you simply need to take it one step at a time. If you break it down in that way and carefully move through each step, you’ll give your chickens their dream home in no time.
As an added bonus, this entire process is quite affordable compared to similar DIY or at-home projects.
1. Select the Right Tools for the Job
Before starting with your DIY chicken coop, you need to gather the necessary supplies and do some mental planning.
The first thing to note is your coop design. Know what you want it to look like, how big it needs to be, how tall it will be, etc. Those questions are key to planning because you have to build the coop according to what your flock needs.
Not only that, but you need to know how much space your coop will need. If you have a large flock, your chickens need ample space to move around. That also means you need to account for both nesting boxes and roosting space.
In addition, know-how tough your coop needs to be. The ones in areas with extreme weather or a lot of predators must be able to stand up to the elements much more than the ones in light or safe regions.
These different steps are important because they ensure you’ll have a solid plan when going into your project. It always helps to know where you want to end up.
2. Choosing the Best Design and Plans

One of the best aspects of building a DIY chicken coop as opposed to getting one from a store is that you have free choice over the end design. Rather than picking only what is offered to you, your coop can be anything you imagine.
Many people go with the traditional coop design, where you have a main compartment with exterior nesting boxes and an open gable roof. However, aesthetics can change based on what you want in your yard. All that matters is that you have a good place for your flock.
Even if you don’t have a set idea for your DIY chicken coop, there are many, many plans to choose from. Pick the one that you like the most and go with it.
3. Decide on Location, Accessibility, Materials
Once you know what your DIY chicken coop will look like, you next need to look at the location. It is easy to commit to the first open space you have, but remember that your coop must be placed on dry ground.
In addition, it also must have a good drainage system and needs to be covered by shade. Chickens need a dry, warm area, but too much heat or direct sunlight can cause problems.
You also want to make the coop accessible. It is easy to get caught up in plans for a good-looking structure, but ensure you can clean it and collect eggs with little hassle. This will save you a lot of issues in the long run.
Finally, also be sure to use only non-toxic or non-corrosive materials when building. You have the freedom to use whatever materials you want as long as they fall into those two categories. Wood is the go-to because it is cheap and easy to build with, but there are other options out there as well.
4. Building a Basic Coop: The Frame

As covered, there are many different DIY chicken coop styles out there. However, if you don’t want to go through all of them, or if you don’t have a lot of building experience, you can go with a basic build.
There is nothing wrong with this choice. In fact, it is often the best option because it is functional, affordable, and looks great when done.
Every DIY chicken coop begins with a frame. This sits at the center of your coop and works to support the entire structure.
Start by cutting strips of wood into different battens (planks), so that you create a rectangular structure. Cut four long ones for the sides and four shorter ones for the ends. Cut six long vertical strips to hold the pieces together as well.
Use four pieces (two long, two short) and lay them on the ground to make a rectangle. This will serve as your base. Then, put on the vertical strips so that they stick up from the four corners.
Take the last two vertical strips and place them, so they stick up from the middle of the two longer sides. Screw all of the pieces together.
Next, cut four shorter pieces (lower lumber battens). Screw them into two of the end vertical strips and two of the middle ones to form a square inside the coop.
Finally, take the final four pieces and screw them onto the top of the vertical strips in a way that matches the same rectangle you have at the bottom of the coop.
5. The Top of the Coop
Once your frame is done, you need to give your DIY chicken coop a roof.
For this step, cut out six roof battens (strips like in the above section) and screw them to the top of your coop. Two should go on the end, two in the middle, and two at the other end.
Rather than putting them upright, these need to be cut and screwed in at a 45 degree so that they join together over the coop to form a triangle shape. That will provide the roof frame.
Next, cut two ridge rails. These are two solid pieces that join the triangle structures together by running from the top of one (where the joints meet) to the top of another.
Screw those in and take two Oriented Strand Boards (also known as OSBs) and cut them, so they form a roof around your frame. Put one on the left and one on the right and screw them into place.
6. The Importance of Frame Panels

The above sections will give you the skeleton of a coop. To fill that in, you need to get some OSBs and cut them into five different panels: the side, floor, front, coop entrance, and gable.
First, screw the side panels into place on the sides of the frame. You then want to repeat that process with the floor panel, followed by the gable (which sits on the front) and entrance panel. The front panel goes last.
After everything fits into place, you need to cut openings. It is best to cut a 14-inch by 18-inch section in the middle of the coop entrance, an 8-inch square towards the ridge of the gable, and a 24-by-14-inch access hole in the right side panel.
That should give your chickens everything they need to move around.
7. Finishing Touches
The above steps will give you a coop, but you still need to add in some final details.
First, cut two vertical battens and two horizontal battens to make a coop door. Apply PVC glue to hold them together and make a frame.
After you do that with both doors, hang them by fitting on hinges and sticking them to the frame of the coop.
To wrap up this entire project, you can add a nesting box or coop ramp. You can also paint the structure in whatever color or pattern you like.
Giving Your Chickens a Home

Conclusion
Congratulations, you now know how to build your own DIY chicken coop. This project is involved, but it is more than worth it. Not only can it save you money, but it allows you to add a fun flair to your yard that you made yourself.
If you want to give your flock something personal, or if you’re simply looking for a new project for your property, a DIY chicken coop is the way to go. It’s also an accomplishment to be proud of.