
How to Pickle Okra for Beginners: Tips and Guide
Just about everyone has a favorite recipe that Grandma used to make. A dish that reminds you of growing up, playing with your cousins, and just overall being comfortable.
Comfort food is definitely incredibly popular, whether you’re picking it up from a restaurant or making it at home.
You’re probably interested in learning yourself how Grandma makes all those tasty dishes. If you can make them at home, you can surprise her with them sometime!
One southern comfort dish you should learn how to make is pickled okra.
What Is Okra?
Before you can even think about pickling okra, you need to know what this vegetable is.
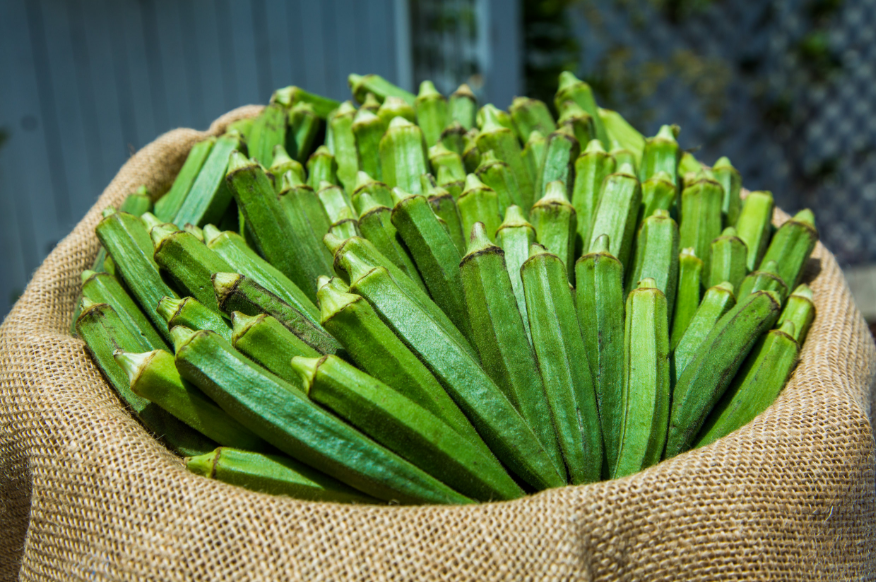
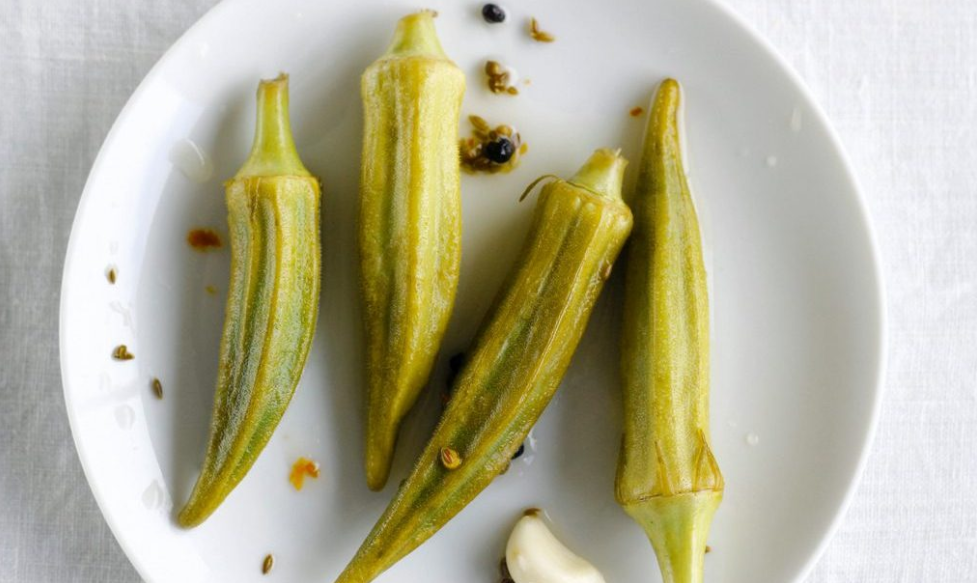
Okra is a green, stalky plant. It holds fuzzy little green pods, which you have definitely seen floating around in your chicken and sausage gumbo.
That’s right, those little tasty bits that you weren’t sure if they were peppers or celery? They’re neither. They are in fact, okra, full of seeds and flavor.
Okra can sometimes get a bad rap because it contains a juice that can feel slimy. However, there are lots of ways to get rid of this sliminess. You can roast or sauté the little pods, eliminating the extra juices inside while still keeping the delicious flavor.
Now you know what okra is, but it’s time to delve a little deeper into what you can do with this tasty vegetable.
How to Pickle Okra
One of the best ways to prepare okra is to pickle it.
Pickled okra is a great way to make sure you can enjoy this yummy dish for more than just the summer months in which it blooms heavily. Since okra thrives in heat, you may have a hard time finding it in your produce section in colder months.
To solve this problem, all you need to do is buy the okra fresh in the summer and pickle it for later use.
But what if you’ve never pickled something before? You’ve seen the jars of pickled eggs and beets your relatives bring for Easter, but you have no idea how they made them happen.
No worries! Let’s start from the beginning.
Sterilize Your Jars
First of all, your jars need to be sterile. This may mean you have to boil them.
To do this, use pint-sized glass jars. Boil water in a large stockpot, making sure the water covers all the jars. The jars need to be submerged for ten minutes to complete the sterilization process.
-Remember to Use Caution-
Be extremely careful when removing the hot jars from your stockpot. Obviously, they would seriously burn you.
You will need to remove them from the pot one at a time, and make sure you use a jar lifter! These look like tongs with scoops at the end.
Why do you need to sterilize your picking jars? Well, because jars you just bought from the store could be contaminated without you even realizing it.
There are tiny microorganisms likely living in your new jars that you can’t even see with your bare eyes. You definitely don’t want these to end up in your pickled okra, so it’s better to be safe than sorry.
Now that your jars are sterilized, be sure to keep them warm before you fill them with food.
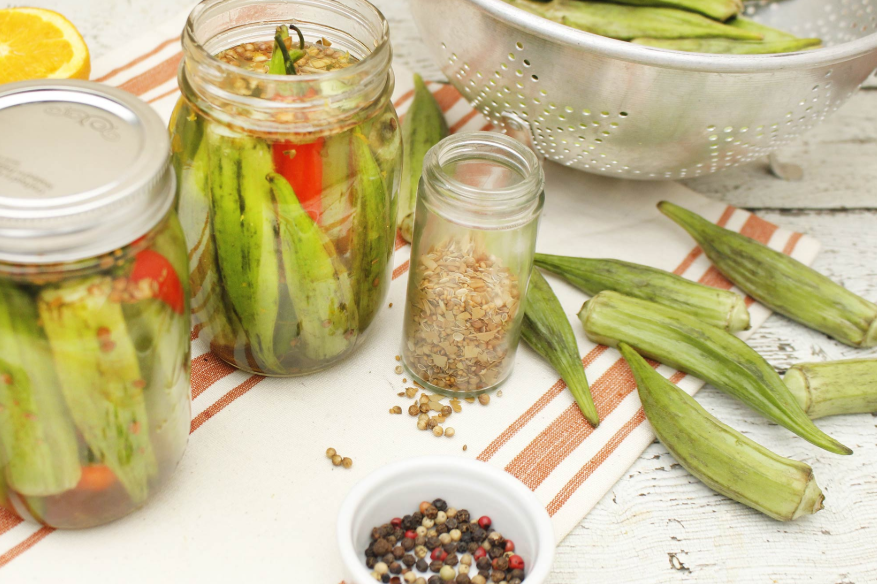
Pack Your Jars
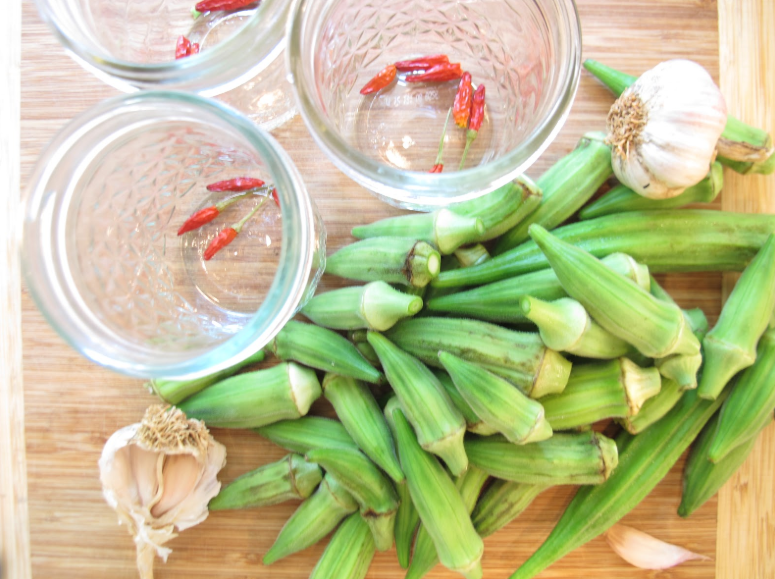
Now you need to pack your sterilized jars full of okra.
Add a half pound of whole okra to each jar, also including one dried red chili pepper, one clove of garlic, and one teaspoon of dried dill in each container.
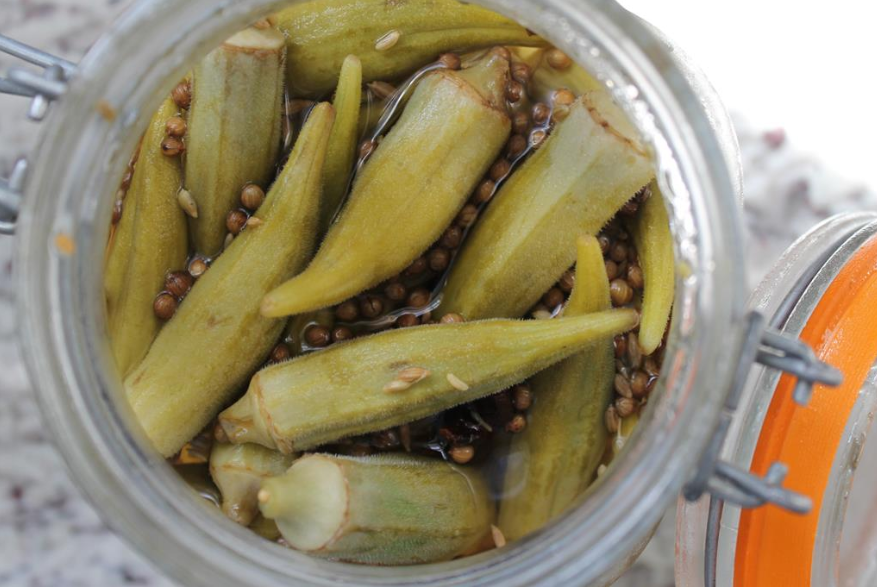
You will now add the pickling solution that makes your okra so tangy and tasty.
Your pickling solution should be prepared in a small saucepan. Combine together two cups of water, one cup of vinegar, and two tablespoons of salt. This mixture should be brought to a boil.
Once the pickling mixture is ready, very carefully pour it over the okra in your jars, filling each jar up to a half inch from the top.
Warm Your Jars
Yes, even though we already made sure out jars were warm before we packed them, we need to heat them once again.
If you haven’t yet noticed, a lot of heat is required for the pickling process.
Take your filled and packed jars and wipe the rims. Once the jars’ rims are completely clean (remember, you may not be opening these jars for a while, so take the time to double check for cleanliness), go ahead and put on your metal lids.
Then screw on your bands. Be careful that the bands are fitting snugly around the jars, but aren’t too dangerously tight.
Now place your jars into your canning rack, and then place this rack into simmering water held in your canner. Again, make sure the jars are completely submerged and covered. You may need to add more boiling water to guarantee your jars are covered by at least an inch of water.
Seal and Store Your Pickled Okra

We’re almost to the finish line.
Your okra is packed, your pickling solution is in place, and your jars are warmed. It’s time to seal up these babies and store them away for later use.
After your cans have boiled for ten minutes, remove them from heat. Of course, make sure to do this carefully to avoid any unnecessary burns.
Your jars should cool in the canner for about 5 minutes, and then on a rack for at least 12, and up to 24 hours.
Make sure you test the seals of the jars, so no spoiling accidentally occurs. To test the seals, press the center of each lid, in the middle of the circle you can see raised on the metal lid.
If the lids do not pop up, this means the jars have been properly sealed. Way to go! If the lids do pop up, take them off and try sealing them again. You should be able to seal them nice and tight.
-Store Them Well-
Now, be certain to store your packed and sealed jars in a cool, dry place. They should not get too hot or too cold. They will be fine stored at room temperature for up to a whole year! Whenever you get a hankering for some pickled okra, you can open up and enjoy.
Once you do initially open the sealed jar, though, you will have to store it in the refrigerator and eat the remaining okra within a week. This shouldn’t be an issue, because once you have one taste, you’ll want to munch away on the rest of the contents of the jar in no time.
Enjoy Your Pickled Okra
Now that you know how to pickle okra, you will want to know how best to serve and eat the dish.
You can add okra to tons of tasty recipes, such as hamburgers, tacos, and bruschetta. Pickled okra is a great topper for these meals, and adds some serious excitement to otherwise traditional dishes.
Try adding it to any kind of sandwich or wrap, and see if it’s not a fun and yummy add-on. You’ll be surprised at how much this can add to a basic dish.
Pickled okra is also a fantastic addition to a relish tray. Your guests will be pleasantly surprised to see something new and will be especially impressed when they find out you pickled the okra yourself.
Consider adding your pickled okra to many different kinds of salads, as well. It will taste great in tuna salad, chicken salad, or even a classic garden salad. Basically, this pickly green will be a welcome substitute for your other, less exciting greens veggies.
Another very fun way to use pickled okra is in replacement of celery in a drink like a Bloody Mary. Adding more flavor to these already-tangy drinks is always a great idea.
Share the Wealth
You’ve now enjoyed much of the okra you have pickled, and you want to let your friends in on this super tasty treat.
The great news is, a jar of pickled okra is an excellent addition to a gift basket any time of the year. Your friends will be impressed with your ingenuity, and they’ll be begging you for more pickled okra as soon as they finish the first jar.
Learning how to pickle okra is a fantastic idea, and you’re probably surprised at just how easy it is.