How to Build a Shed: The Ultimate Guide for Beginners

If you want something done right, you have to do it yourself. This is a common expression, and for good reason. The adage definitely applies when you are looking to add a structure to store your belongings in your backyard. Sure, you could purchase a shed, but you won’t be able to design it yourself, and you may not be pleased with its sturdiness (or lack thereof). The better option may be to build your own storage space. But what if you don’t know how to build a shed?
Don’t worry. In no time, you will know exactly what to do.
Why Should You Build a Shed?

There are several reasons why you should consider building your own shed rather than buying one from a store.
-You Will Save Money

The biggest advantage of building a shed from scratch rather than purchasing one is that you will save a ton of money.
Buying a shed from a home improvement store means then probably having it assembled for you by the professionals who deliver it. Of course, this professional installation can be very pricey (thousands of dollars, even), since you can sit back and relax while others do the work for you.
Building your own shed means you only have to pay for the cost of the materials, not the cost of labor. Your wallet will surely thank you if you decide to build the shed on your own.
-You Have Creative Control
Obviously building a shed yourself means you also get to design it yourself.
You do not have to stick with the pre-designed sheds you would find at a home improvement store such as Loew’s or Home Depot.
Instead, you can have a shed the perfect size to store your gardening supplies, made of the material you choose.
Choose Your Building Material
Maybe you’re a fan of wood and its ability to blend into your outdoor décor? Or perhaps you want a metal shed to ensure sturdiness? You can choose either material and customize it to your preferences.
Since this structure will be a part of your yard landscape for several years to come, it is important that you like the look of it, and don’t feel you are settling on an aesthetic you’re not crazy about.
You should be absolutely thrilled with the design and setup of your shed, which of course can only be guaranteed if you build it yourself.
-You Create the Schedule
If you buy a shed that comes with professional assembly included, this means, unfortunately, having to follow the schedule of the builders.
Professional assemblers will likely have other projects they are working on, so they will not be able to devote all of their time to building just your shed. This could mean they leave the project in the middle of its completion, with the promise to come back later.
Suddenly you have a half-finished shed in your yard, with dangerous building materials making a mess across the lawn or patio.
You definitely don’t want to deal with the stress of seeing an uncompleted job every time you go to your backyard, so it may be best not to rely on someone else’s schedule.
Work at Your Own Pace
Instead, learn how to build a shed yourself. Now you can work on it whenever you get free time. You create your own schedule. This means you can hammer out the whole project in a couple of days if you really put in some elbow grease.
Or, if you prefer, you can take your sweet time on the project, completely just a few simple steps a day. This may be a good idea for those of you with full-time jobs who really can’t handle another overwhelming task when coming home from work.
Now that you know several of the advantages of building a shed rather than buying one, you’re probably wondering exactly how you get started on actually constructing the shed.
Well, buckle down and keep reading to find out.

How to Build a Shed: The Materials

Just like any time you take on a big project, you need to make sure to do some research first.
You will want to make some difficult decisions before you begin the actual construction process.
-Should You Use Wood?
There are several different materials out of which you can build your shed. To choose the one that is best for you, you will need to know more about the properties and qualities of each possible material.
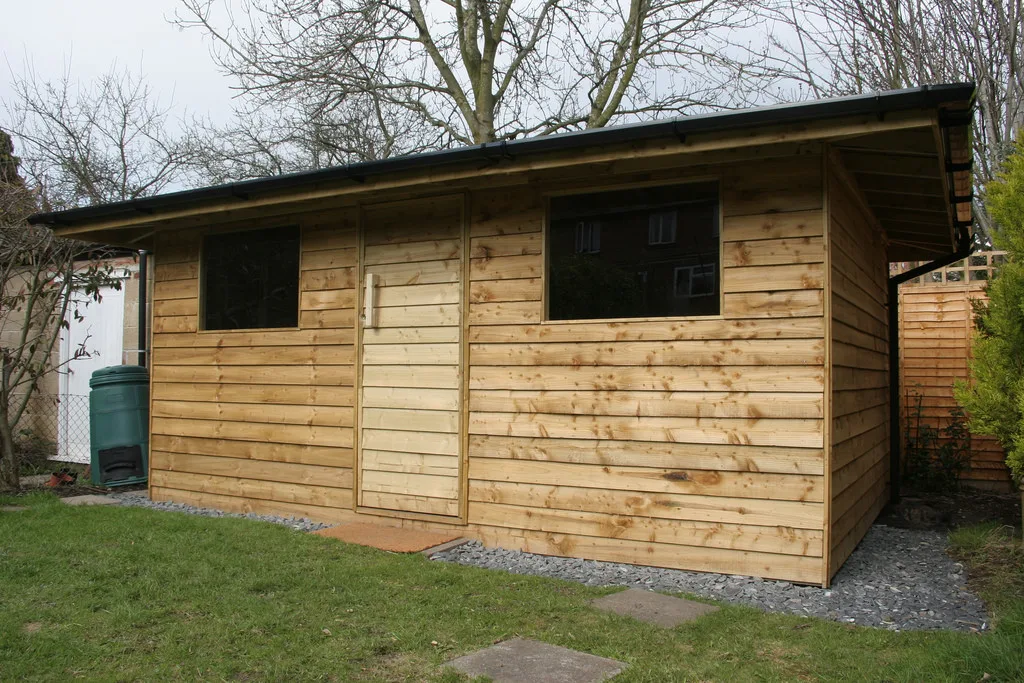
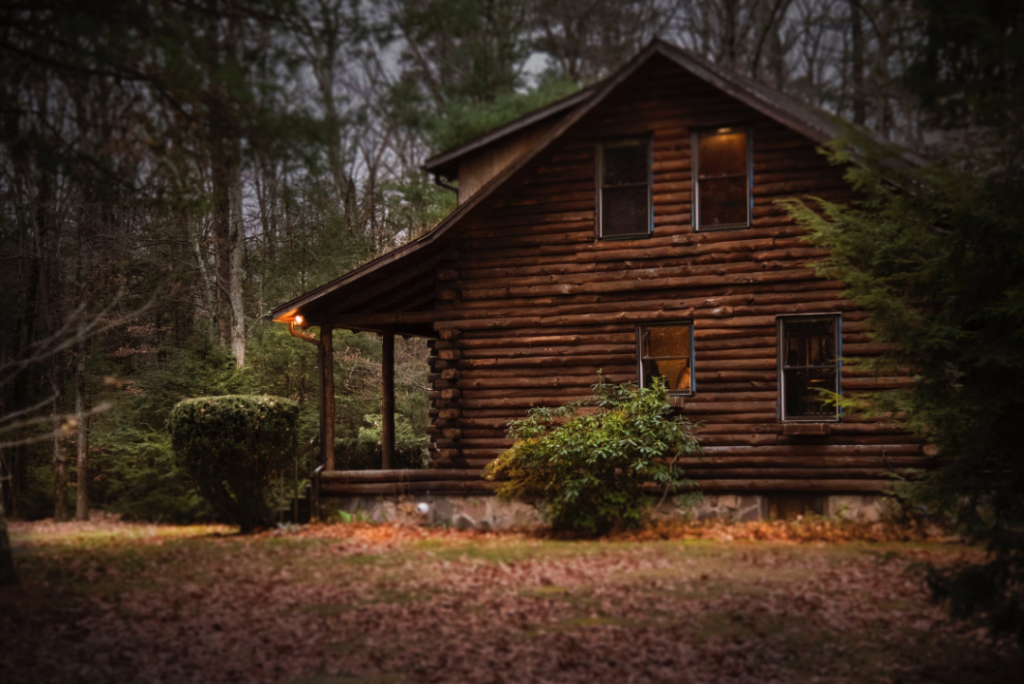
The most popular type of shed is probably wood, as it is absolutely customizable. You can paint your wooden shed any color you choose, ensuring it blends in well with the décor of the rest of your yard.
What’s Good About Wood?
Sheds made of wood also allow for easy customization on the inside. You can hang shelves or hooks easily, or install cabinets for further storage.
Wood is a sturdy material, and obviously helps make many long-standing structures. However, this does not mean it is totally impenetrable.
Wood is susceptible to many different natural elements, including insects and strong weather. Too much rain or insect damage will cause the shed to rot and fall apart. Not only will this leave you with an impractical structure incapable of holding your tools, but it also means you threw a lot of money down the drain.
Rotting wood can also smell pretty bad, which you definitely do not want to have to deal with.
Even if the weather is always perfect and no insects ever find you shed, you will still have to keep up with its maintenance. This means repainting the wooden shed every so often to keep it looking fresh and tidy.
You need to decide if the customizable and traditional look of a wood shed is more important to you than the longest possible lasting structure.
-Perhaps You Will Choose Metal
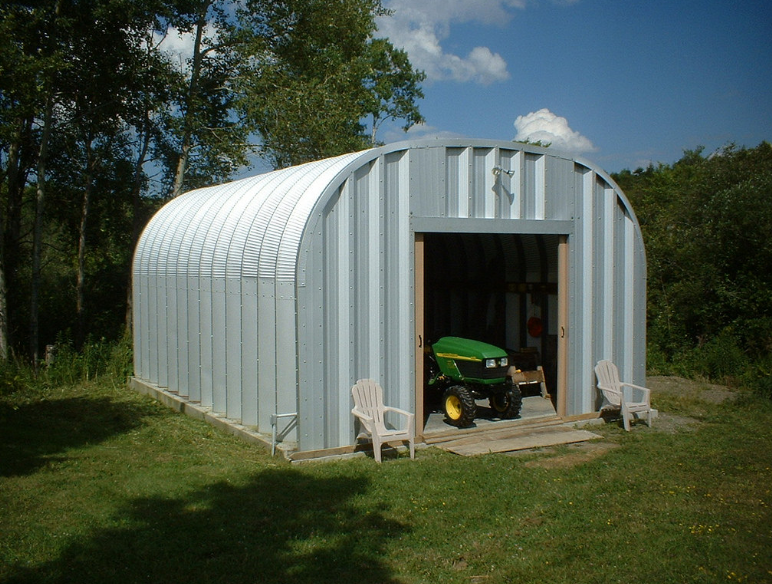
Metal sheds are an increasingly popular choice because of their durability.
Unlike wood, metal holds up well against moisture, rot, mold, and damage caused by pests such as insects. You do not have to worry nearly as much about bad weather ruining the shed and causing it to slowly fall apart.
Of course, it will not be as easy to attach shelves and hooks to a metal interior, and the outside may not look as aesthetically pleasing as a wood shed would.
But honestly, metal sheds don’t have to be eyesores. In the past, maybe there was not much room for decorating or making the metal attractive, but this is not true anymore. People have really come to enjoy the look of metal sheds, and you can now do much more with them.
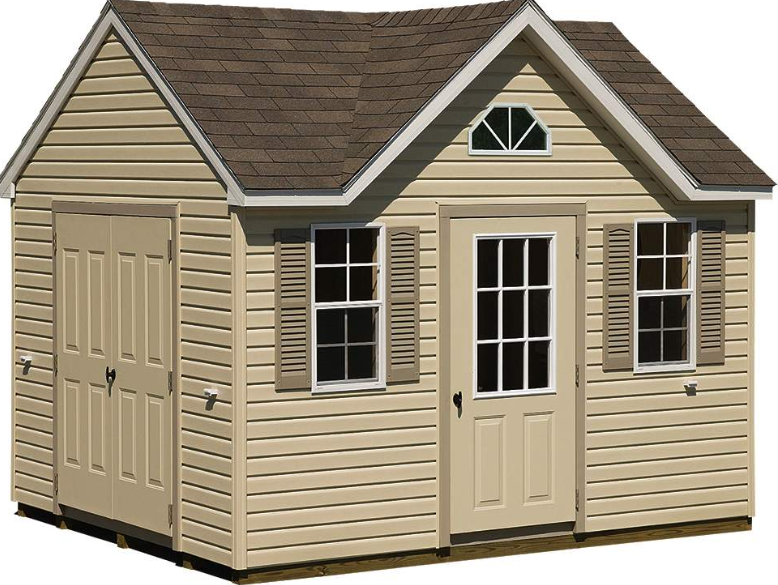
How to Customize the Look
Like with a woodshed, you can paint your metal structure any color you like. You can even make it so that your metal resembles another material, if you don’t like the shiny metallic-looking surface.
Add some stone or brick veneers to your shed to give it the appearance of a building made of these materials, without the heavy lifting. It will blend right in with your other architecture if that’s what you choose.
Or maybe you’re still not convinced metal is the material for you. There are still other options out there.
-Maybe You Like Resin
Resin sheds are made of plastic. They are resistant to insects, rot, and rust.
You also do not have to paint or sand your resin shed. This makes them very easy to maintain, all while staying extremely durable.
Also adding to the easy maintenance is the fact that you can clean your resin shed with a simple mixture of soap and water. You don’t have to worry about insects eating away at the surface, either.
Finally, resin tends to weigh less than metal or wood, so your shed will be easier to put together, and will be easily portable if you need to move or transport it, such as in the event of a move to a new home.
The downside of building a resin shed is that it will not be quite as customizable, and it cannot bear as much weight on its walls as a wooden or metal shed would be able to do.
Once you have weighed your options and decided which material you want to use to build a shed, you’re ready to get started.
How to Build a Shed: The Constructing Process

When building a shed, you will want to start with the floor. After all, you need something to stand on.
-Building the Floor
The best shed floor is probably a concrete slab. This kind of floor is obviously very strong and durable, and it also lays low to the ground, which makes it ultra-convenient.
To form and pour a concrete slab, you want to make sure you build it on solid ground, with dry soil. This will ensure less cracking of the cement over time.
Before you pour your concrete floor, and after you have decided where to place it, make sure to contact the city building department to inquire if you will need a permit. Most of the time, you will not need one, but it, of course, depends on the site and size.
Now you need to build forms to hold your concrete slab. You will need straight form boards for this, and 2×12 will probably work best. They will hold up a 5-inch concrete slab easily.
Set and level each of your four sides, making sure to stake each side for support after you build it.
Creating the Base
Once your form is set, you are ready to build the base of your concrete floor. Install rebar in order to help add some strength to your floor, and then bring in the concrete truck.
Pour and level your concrete (you can level it with a rake, but concrete is heavy, so it won’t move very far). After you are done raking, make sure to flatten and smooth out your floor. This can be done with a bull float.
Even if you think your floor is done, some water will still be leaking out of the concrete. Once this water absorbs back up, your concrete will harden, and you can round the edges.
Building a concrete floor does sound like a lot of work, and it requires some safety precautions. But if you do it right, your floor will be strong and sturdy, lasting a long time. Just make sure it is completely level.
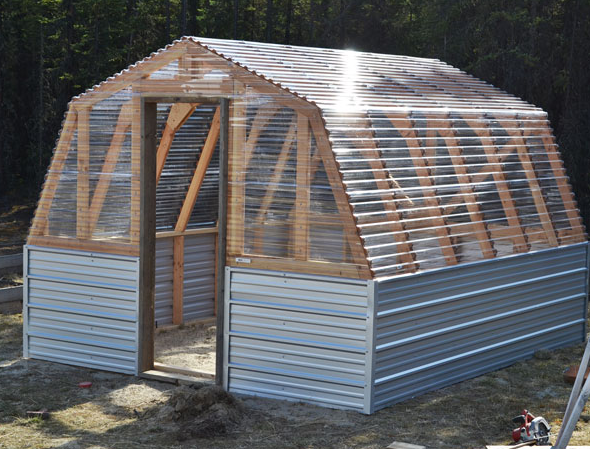
-Building the First Wall
When learning how to build a shed, it is important to consider how the first wall will be built. After all, this is going to be the blueprint for how you build the three other walls.
Yes, there will be some slight differences because the front wall holds the door, but much of the basic formation stays the same.
The first wall creates the frame for your shed, so it is extremely important that the wall is straight. To ensure this, you can use string. This sounds a little bonkers, but it absolutely works.
Just attach some string to the forms on the floor, and then when building the wall, add the same string method to the top. You will now be able to adjust any accidental moving or misaligned structural pieces.
When building your first wall, you want to make the top and bottom beams the same length as the length of the floor. Make sure all your spacing is kept equal. Now build the framework, and make sure to use straight studs!
-Building the Other Walls
You’ve now got your first wall done, and you’re feeling pretty confident about the rest of the project. As you should.
You will build the framework for your three remaining walls much like how you did the first wall. Your front wall should be taller than your back wall, though, because of the slope of the roof. The roof is designed to keep rain away from the door.
The side walls are each a little different from the front and back walls, as well. They help create the sloped roof, and obviously connect the front and back walls.
Because you already have two walls built, your bottom plates (your support) will not be as long. They only need to bridge the distance between the bottom plates of the front and back wall.
Once you have built the framework for all of your walls, you’re going to have to actually assemble the walls. This part will probably require some help, so your partners can aid you in holding up the wall structures.
-Building the Roof
Now your four walls are up, and it’s starting to look like you’ve got a real shed on your hands. It’s time to build the roof.
To do this, you will first need to build rafters. These will hold up the roof and offer support. The rafters should go a little bit longer than just touching the top of the walls. Rather, they should overhang a bit, because this will give you more weather protection (think draining roof).
The construction of your roof will work best if you space the rafters in the same way as your floor joists. This will keep things even and make the construction process much easier. No need to overthink or measure again.
Do not forget to separate each of your rafters with blocking.
You will now lay your roof. This means nailing in sheeting to cover the rafters you have just put up. Then add tar paper to the roof, starting from the lower end and working your way up to the highest point of the roof.
You may also want to add shingles to your roof.
-How to Build a Shed: The Finishing Touches
Now that your floor, walls, and roof are built, you have a solid construction for your shed. Now you get to be more creative.
This is the part where you decide what you want your shed to look like on the interior. Will you hang shelves from floor to ceiling on the back wall? Will you paint the walls an excitingly bold color to add some fun to the workshop process?
As long as you have built a sturdy and reliable shed, what you do on the inside doesn’t really matter.
You may install a workbench, a closet, some windows, whatever you like.

Be Sure to USE the Shed

Remember, that shed you just built is not only for decorative purposes.
You should absolutely store your yard-work materials in the shed, to make use of all the work you put into building it.
Enjoy a job well done, and be satisfied in knowing your new shed will last you a long time.