How to Make a Scarecrow: Tips and Guide

What do scarecrows remind you of?
If you think of the fall and harvest season, you’re not alone. Scarecrows make a lot of us think of fall decorations. You’ve probably seen lots of fall and Halloween decorations with a scarecrow theme. But do you know how to make a scarecrow? Have you ever made a scarecrow before?
If you haven’t, this is your opportunity. Making a scarecrow is a fun activity you can do with your kids. You can customize it to look exactly as you’d like. Have fun letting your kids decide what your scarecrow will wear, or what the face will look like.
You can create a great decoration to set out during Halloween or throughout the fall season. Every year, you can make your scarecrow look different. That’s the benefit of making your own scarecrow instead of buying one from the store.
What if you don’t know how to make a scarecrow?
If you’ve never made one before, there’s no time like the present to learn. Come with us as we show you how to make your own scarecrow and where to put it. This year, your fall decorations will be on point!
Do Scarecrows Serve a Purpose?

Are scarecrows more than just a fall decorating trend? Do they really scare crows away from your crops?
Well, according to some experts, scarecrows do work in certain situations and for some species of birds. Apparently, scarecrows work better when placed near small bodies of water than when placed in fields. Even so, the scarecrow doesn’t work on all species.
Birds got used to stationary scarecrows placed in fields, and while they were warier of colorfully dressed scarecrows, the birds learned to tolerate their presence over time. If you want to use a scarecrow to frighten animals away from your garden, you’ll need to move it around from time to time.
So, we can conclude that most people make scarecrows for decorative rather than practical purposes. If you’re looking for a way to protect your tomato crop from intrusive bird beaks, you’re better off trying something else.
Items You Need to Make a Scarecrow
Now, if you’re planning to make a scarecrow, you need to gather some supplies. Not sure what you need? We can help.You’ll see a lot of different instructions for how to make a scarecrow online. You can use almost any kind of construction material, from cloth and straw to wood and vegetable matter. It depends on what size and style of scarecrow you’d like to make.For example, if you want to make a full-size standing scarecrow, you’ll need:
· Garden stakes· Old clothing· Boots, gloves, and a hat· Straw· Hammer and nails· Scissors· Plain pillowcase or piece of burlap cloth· TwineIf, on the other hand, you want to make something a little bit different, you’ll discover there’s almost no end to the variety of scarecrows you can make to decorate your home inside and out. You can make scarecrow wreaths, tin can scarecrows, flowerpot scarecrows, wood pallet scarecrows, and many more.
How to Make a Scarecrow: Step-by-Step Instructions
We’re focused on the classic scarecrow for the moment. If you’ve ever wanted to make a classic, standing scarecrow to put in your yard or on your front porch as a fall decoration, this is the place to start.
Step 1: Build a Frame
The first thing you’ll need to do is make a frame for your scarecrow. Line up your garden stakes to form a cross and nail them together at the apex. Some would suggest you put a shirt on the horizontal crossbar before nailing the stakes together, but other instructions don’t mention this.
You’ll want to make sure your horizontal stake is centered and long enough to accommodate the clothing you have for it.
Step 2: Secure the Frame in the Earth
Now, if you’re planning on standing your scarecrow on the porch, you’re not going to need this step. You’ll simply affix your stakes to a board or a stand. But if you want your scarecrow to stand up in the yard, you’ll need to hammer the frame in the dirt.
Make sure you pick a part of the yard with looser soil, especially if you live in a place with hard clay. You want the soil to be malleable enough to take the stake, but firm enough to hold the weight of the scarecrow in place.
Face your scarecrow in the direction you want it and carefully hammer it in. If your stakes are on the narrow side, set a piece of scrap wood on top of the vertical stake and hammer on that.
Step 3: Dress Your Scarecrow
This step is entirely dependent on the kinds of clothing you’ve decided to dress your scarecrow in. Once you’ve placed your scarecrow’s frame where you’d like it, you can add clothing.
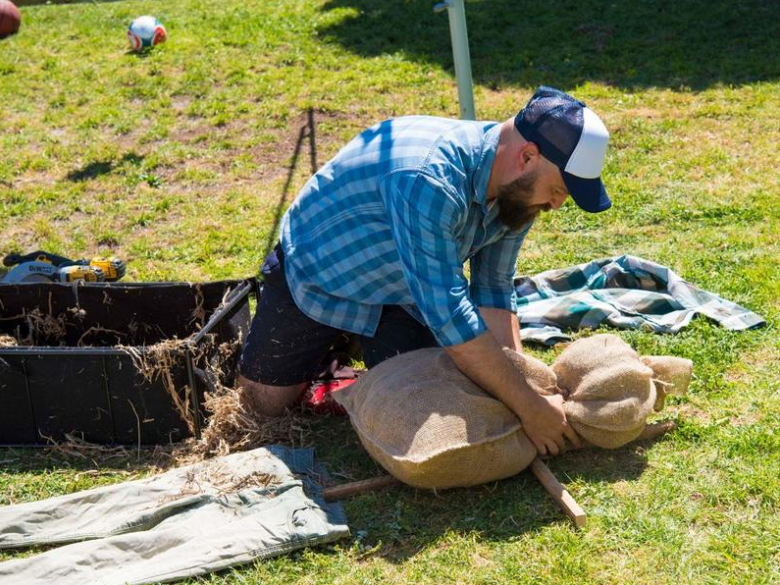
First, slip the shirt over the frame and tie the bottom closed with a length of twine where you imagine the waistline would be. If the shirt is a button-down, leave the top three buttons unbuttoned, so you have room for the stuffing – straw, wood chips, or whatever you’ve decided to use.
Then, tie the sleeves closed around the horizontal stake. You can stuff them beforehand if you like. Add gloves to the ends of the crossbar and tie them on as well. Stuff the shirt and button it the rest of the way.
Next, you’ll need to add the pants or overalls. Tie each leg closed and stuff them with your stuffing material. You’ll want them to look full and sturdy. Add the pants to the scarecrow with twine. You can wind the twine through the belt loops and secure it over the shoulders of your scarecrow.
It’s time to add the boots to your scarecrow. Stick each tied leg into a boot. You don’t need to secure the boots to the legs unless you’ll be moving the scarecrow around. If the boots you’re using won’t be worn again, drill holes into the soles. This way, your scarecrow won’t have soggy feet if they’re exposed to rainy weather.
Step 4: Make the Head
Now, you need to make a head for your scarecrow. You can use a pillowcase or a piece of cloth such as burlap. The pillowcase is probably easier to handle if you’ve never made a scarecrow before, but a shaped piece of cloth can look nice, too.
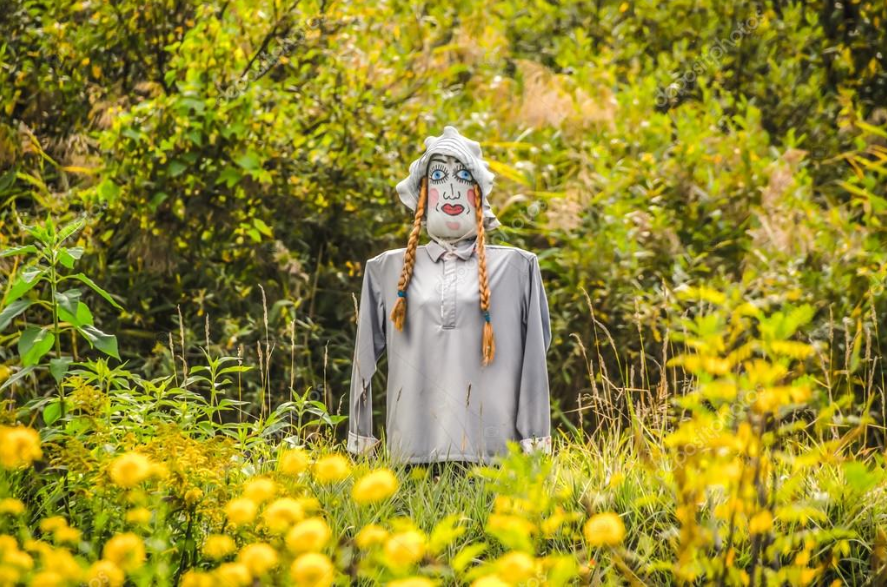
You can draw a face with a fabric-safe marker or sew on a face. Position the fabric around the top of the vertical stake and surround it with stuffing. Secure it in place with a piece of twine wrapped around the “neck” part of your scarecrow. Make sure the head is attached well.
Fluff the stuffing into a rounded shape. At this point, you can add hair made of yarn or straw and a hat.
Step 5: Add Flair
It’s time to decorate your scarecrow. You can add a feather or ribbon to the hat or glue a pipe to the mouth. Raid your closets and junk drawers to find eye-catching things to add to your scarecrow.
You can add plastic flowers in the front pocket of the shirt or a bandana. If you’re sticking with a color scheme to match your fall decorations, visit the bargain bin in your craft store for colorful fabric scraps. You can sew patches on your scarecrow’s clothing. Add button eyes or a button nose.
If you wanted your scarecrow to really frighten garden pests, the bright, mobile decorations, like ribbons, feathers, or plastic flowers, would work the best.
Where to Put Your Scarecrow
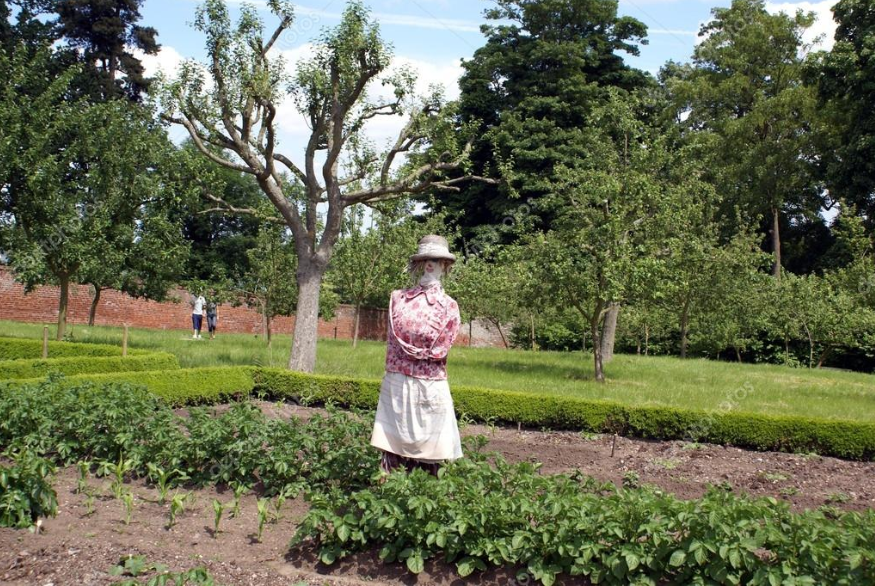
So, where should your scarecrow go? Well, it depends on what you want your scarecrow to do. If you want it to be visible as a yard decoration, you should place it front and center. Those lucky enough to have a garden patch can place it in or near that patch.
If your scarecrow is functional, you’ll need to move it to different locations around your garden periodically. You may even want to change how your scarecrow is decorated. Use a different hat or add a new accessory.
Decorative scarecrows can go anywhere. If yours is on a base, you can move it to the porch. You can put it next to your door or inside your entryway. Since it doesn’t have to be hammered into the ground, you can put it on any stable surface and move it as needed.
Some decorative scarecrows aren’t supported with garden stakes at all. These scarecrows can sit on a bench, or on the steps of your front porch.
Whether you want to create a unique decoration for Halloween or are looking for a way to keep the birds from eating your homegrown produce. A homemade scarecrow is the way to go. Now that you know the basic steps of how to make a scarecrow, you can build one to suit your needs.